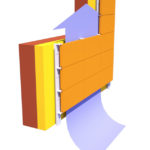
 Rainscreens are a great way to protect homes from the elements, but even the best engineered systems can be compromised when you start cutting holes in walls. Things like windows and vent caps create spots where water can seep behind the membrane inside a rainscreened wall.
Careful installation is vital to keeping moisture on the outside of your projects, where it belongs.
When cutting a hole in the building envelop for ductwork termination in a sealed wall choose a tool that will leave a clean edge on the inner membrane for you to work with. Once you’ve chosen a spot that will limit the length and allow for the most direct path of your interior ductwork, you can go ahead and cut out a section of wall slightly larger than the vent cap itself.
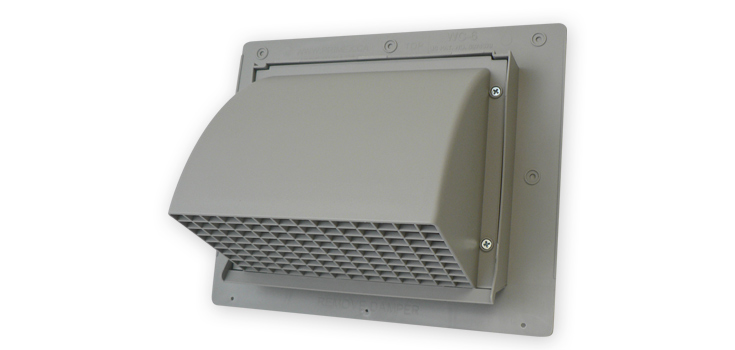
Builders using rainscreens should choose a plastic vent cap with a large flange that will help block water from entering the wall behind it. If you require intakes or exhausts for multiple ducts, choosing a single unit equipped with two or three vents will also help limit the number of edges created where water could penetrate. In addition, a one piece plastic design eliminates seams in the vent cap, which can pull water into places best avoided.
Once you have inserted the right cap into the wall, it can be tightly secured with screws or nails on the top and sides. The bottom should remain unattached to encourage drainage of any water into the raincreen gap beneath the siding. To finish, polyurethane-based caulking should be run along the top and sides to further ensure a proper seal that will keep water out. Exterior finishing trim can then be installed around the vent cap.
It can be easy to overlook small details like selecting a wall cap that protects the integrity of a building envelop, but spending some extra time to make sure they are helping a rainscreen do its job will pay off in the long term reliability of the structure.


